Showing posts with label storage. Show all posts

Sunday, February 26, 2012

Always at home.

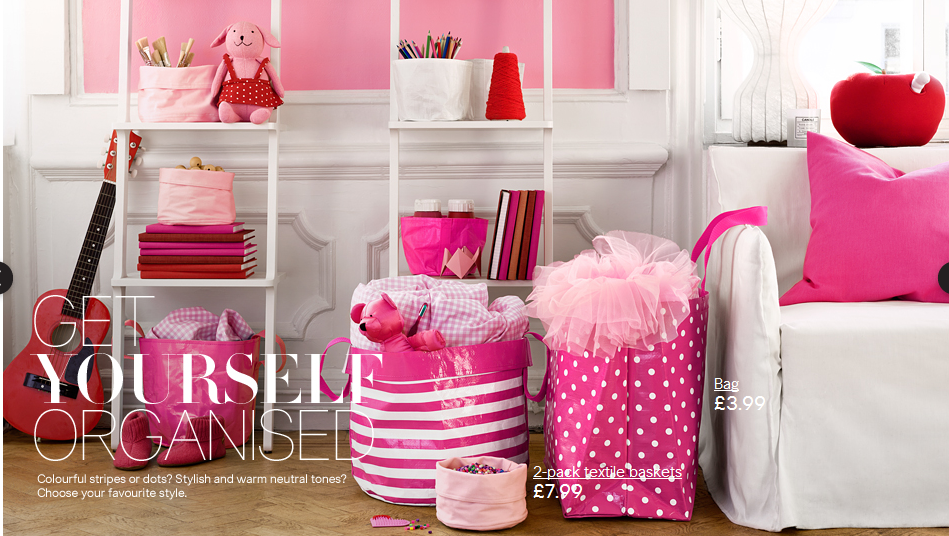
As if I even needed another reason to want a H&M in Sydney, the Swedish company now has a home range. With something for your kitchen, living room, bedroom and even your bathroom I feel like you could furnish your entire home straight from Sweden. Grab your flat packs from ikea and your furnishings from H&M and your all set. 


Although I could probably find a use for almost everything from the H&M home range I have restrained myself and picked out some of my favorite things to share with you. I really would love one of these stripey towels in my bathroom and obviously couldn't go past these spotty pillows. 
 Colour H&M Home
Blue: 
Storage basket (also in black and pink) £3.99
Cushion cover 50x50 £6.99
Pink:
Shower towel £12.99
Cushion cover 50x50 £6.99
White: 
Storage basket £9.99
Cushion cover 50x50 £6.99

Wednesday, September 21, 2011

Shoes: I like to think of it as a collection, not an addiction.

One thing you'll learn about me pretty quickly is that shoes are one of my great weaknesses. Another thing you'll learn is that I am not at all challenged in the height department. So when you put these two things together it results me having what I like to call a collection (not an addiction)of shoes. Lots of shoes. I have a particular weakness for heels, but as my two best friends are... well kind of challenged in the height department I never really get the chance to wear all my heels. I think the phrase "I will not buy another pair of boots until next season" has been muttered numerous times before a shopping exposition only to return home with more boots. So my boots always start out nicely lined up against the wall next to my wardrobe but quickly end up like this (avert your eyes to the picture below). 


So my grand idea to fix it was to construct a kind of floating shelve to put my boots and heels on so they were still on display, but not just thrown all over the floor. One of the worst things, for my bank account, about where I live is the fact that it's only ten minutes from ikea. So I headed there for the sole purpose of buying these floating shelves. They were $20 each and I wanted 2 at the most. So long story short, I leave ikea an hour later and $200 lacking in my bank account. But in saying this I am uber happy with the result and my shoe storage or display, yeah I like to call it more of a display. 


Having an ikea so close to me means that I am now an expert flat pack put-together-er (yes for the purpose of this post that is a word). So I sat down armed with my allen key, some hommus and carrot sticks and some recent episodes of Keeping up with the Kardashians and pretty much dominated the assembling of this little shelving unit.  
     
My little display (the basket has scarfs in it)


xx

Monday, September 5, 2011

Scissors: Jewellery is one of my weaknesses


I'll set the scene first. My necklaces used to hang off the picture rail and always get tangled, my rings used to get thrown where ever they were taken off and my earrings were lucky to find their little box where they were finished with.
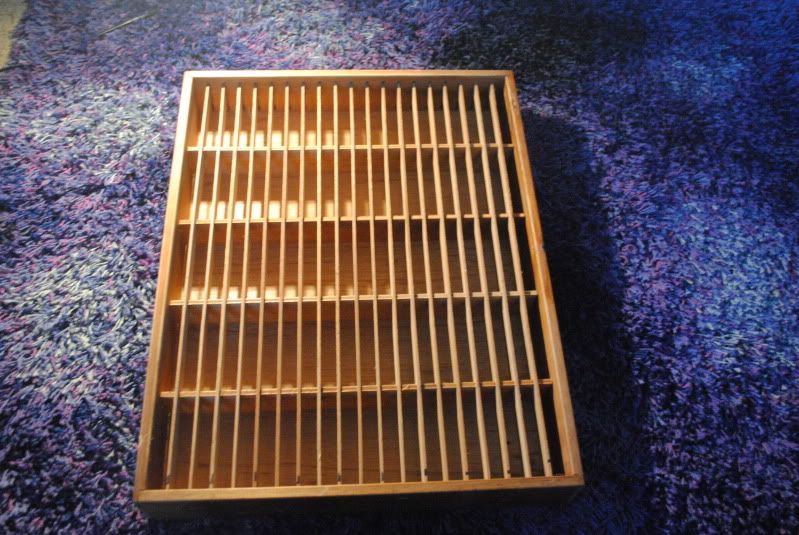
I had seen this DIY on a couple of sites and have been waiting to find the perfect frame for it. I found this, what I assume is a spice rack, at the markets one morning and was so excited to get home and try it out for myself. 
Yes that's my beautiful purple shag carpet in the background. 


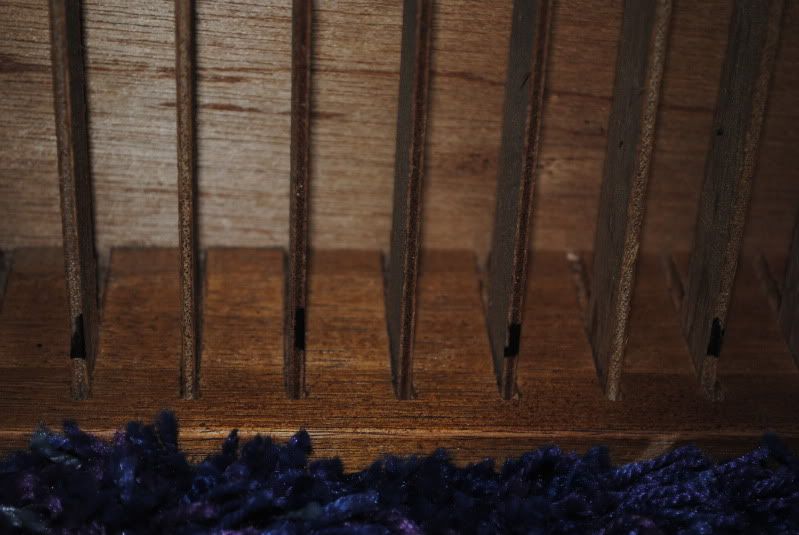
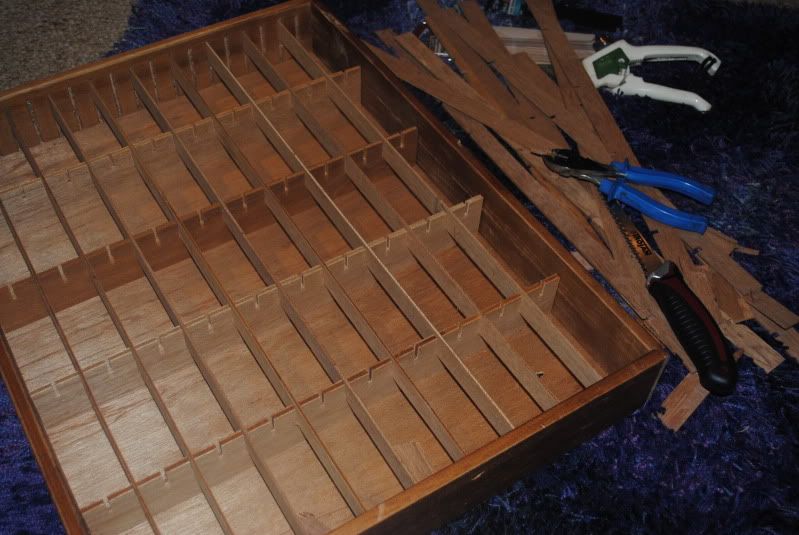
The shelves were a bit small to fit any jewellery in so first up was to cut every second column out. So you don’t get mixed up its a good idea to mark which shelves you are cutting out with a black marker. I ended up using tin snips which easily cut the column making it a simple job to just pull out the shelve.  


Next up it was time to spray paint the Shelve. To keep in theme with my room I went for black spray paint and it wasn’t difficult to get a good finish. I forgot to take a photo of the shelves after spray painting, but I’m sure you can use your imagination to see what it looks like. 

Putting in the hooks was the hardest and most tedious part of this whole DIY project. It took so long for me  my mum to get them all in, I just couldn’t get my the hooks turning the right way. It makes it alot easier if you use a screwdriver or letter opener to start the wholes off before twisting the hooks in. 

And the last thing to do is hand your jewellery up. Guess I will just have to buy more to fill it up. 

Ta daaa

xx